Run pibooth
Start the pibooth application using the command:
pibooth
All pictures taken are stored in the folder defined in [GENERAL][directory].
They are named YYYY-mm-dd-hh-mm-ss_pibooth.jpg which is the time when first
capture of the sequence was taken. A subfolder raw/YYYY-mm-dd-hh-mm-ss is
created to store the single raw captures.
Note
if you have both Pi and DSLR cameras connected to the Raspberry
Pi, both are used, this is called the Hybrid mode. The preview
is taken using the Pi one for a better video rendering and the
capture is taken using the DSLR one for better picture rendering.
You can display a basic help on application options by using the command:
pibooth --help
States and lights management
The application follows the states sequence defined in the simplified diagram below:

The states of the LED 1 and LED 2 are modified depending on the actions available for the user.
Detailed state diagram can be found on this page section.
Controls
After the graphical interface is started, the following actions are available:
Action |
Keyboard key |
Physical button |
Touch event |
|---|---|---|---|
Toggle Full screen |
Ctrl + F |
- |
- |
Choose layout |
LEFT or RIGHT |
Button 1 or Button 2 |
Tap 1 finger |
Take pictures |
P |
Button 1 |
Tap 1 finger |
Export Printer/Cloud |
Ctrl + E |
Button 2 |
Tap 1 finger |
Open/close settings |
ESC |
Button 1 + Button 2 |
Tap 4 finger |
Select option |
UP or DOWN |
Button 1 |
Tap 1 finger |
Change option value |
LEFT or RIGHT |
Button 2 |
Tap 1 finger |
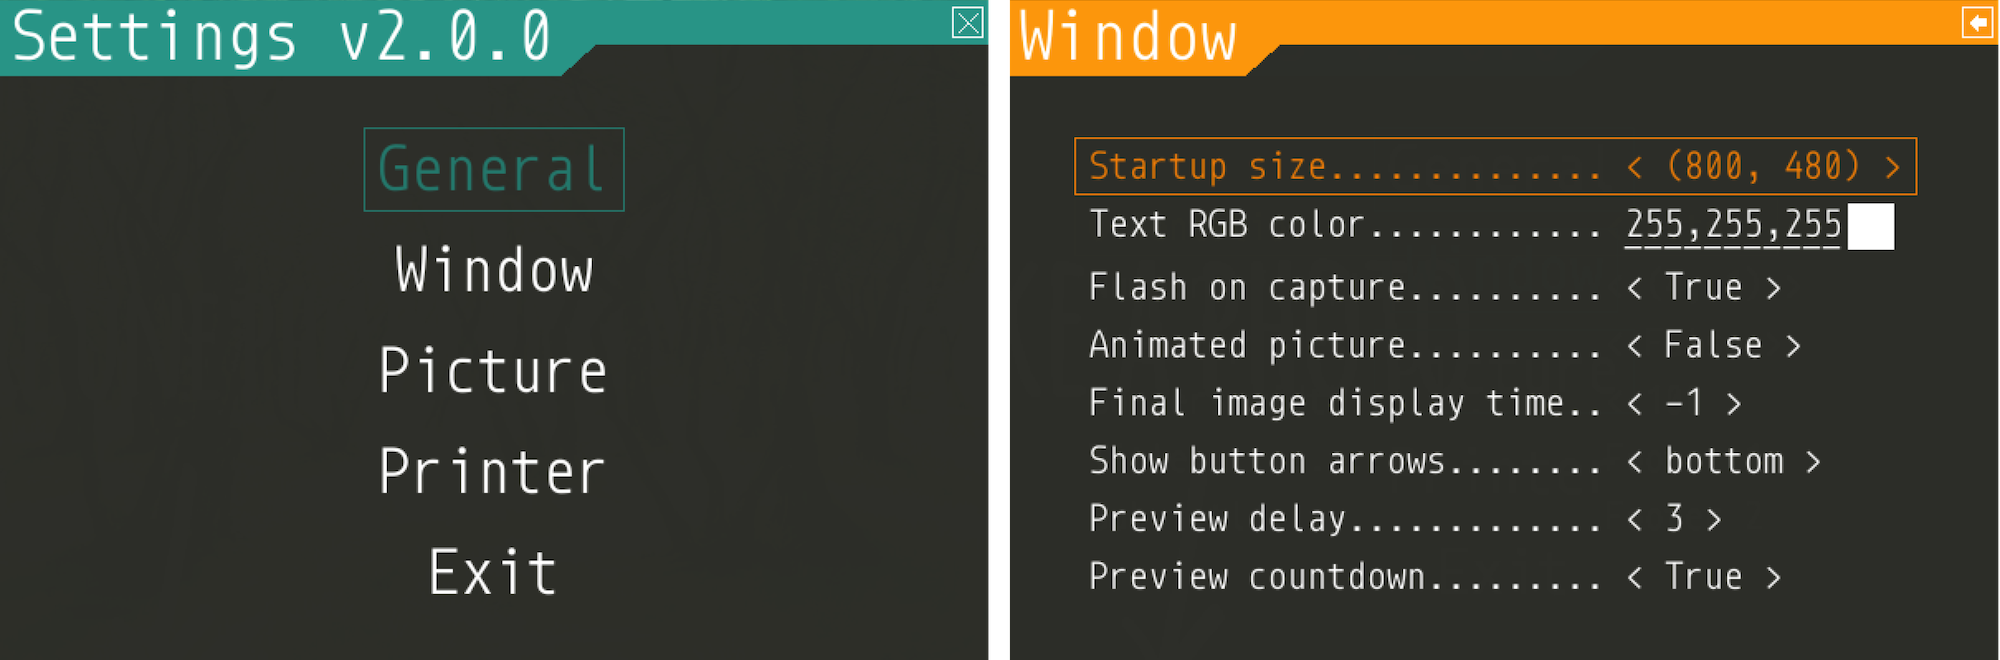
Configure
At the first run, a configuration file is generated in ~/.config/pibooth/pibooth.cfg
by default. This file permits to configure the behavior of the application.
A quick configuration GUI menu (see Controls ) gives access to the most common options:
More options are available by editing the configuration file which is easily done using the command:
pibooth --config
The default configuration can be restored with the command (strongly recommended when
upgrading pibooth):
pibooth --reset
The configuration directory can be chosen at startup. This feature gives the possibility
to keep several configurations on the same Raspberry Pi and quickly switch from one
configuration to another. The following command will start pibooth using configuration
files from myconfig1/ directory:
pibooth myconfig1/
See the default configuration file for further details.
Final picture resolution
The pibooth application handle the rendering of the final picture using 2
variables defined in the configuration (see Configure below):
[CAMERA][resolution] = (width, height)is the resolution of the captured picture in pixels. As explained in the configuration file, the preview size is directly dependent from this parameter.[PICTURE][orientation] = auto/landscape/portraitis the orientation of the final picture (after concatenation of all captures). If the value is auto, the orientation is automatically chosen depending on the resolution.
Note
The resolution is an important parameter, it is responsible for the quality of the final
picture. For Raspberry Pi camera, see the list of
picamera possible resolutions .
For gphoto2 camera, the possible resolutions can be listed by executeing
the following command (adapt device path as needed):
v4l2-ctl --list-formats-ext -d /dev/video0
Captures effects
Image effects can be applied on the capture using the [PICTURE][effect] variable defined in the
configuration.
[PICTURE]

# Effect applied on all captures
captures_effects = film
Instead of one effect name, a list of names can be provided. In this case, the effects are applied sequentially on the captures sequence.
[PICTURE]

# Define a rolling sequence of effects. For each capture the corresponding effect is applied.
captures_effects = ('film', 'cartoon', 'washedout', 'film')
Have a look to the predefined effects available depending on the camera used:
Texts and fonts
Texts can be defined by setting the option [PICTURE][footer_text1] and [PICTURE][footer_text2]
(lets them empty to hide any text). Some text can be inserted dynamically using some state variables.
Available variables to forge the footer texts are:
date : datetime of the first capture of the current sequence
count : current counters (see counters in configuration menu)
For instance, insert the date in the footer text:
[PICTURE]

footer_text1 = The full date is {date}

footer_text2 = A custom date is {date.year}-{date.month}-{date.day}
For each text, the font, the color and the alignment can be chosen. For instance, to change the font:
[PICTURE]

# Same font applied on footer_text1 and footer_text2
text_fonts = Amatic-Bold
Different fonts can be defined for each text. It is achieved by setting two names (or TTF file paths)
in the [PICTURE][text_fonts] option:
[PICTURE]

# 'arial' font applied on footer_text1, 'Roboto-BoldItalic' font on footer_text2
text_fonts = ('arial', 'Roboto-BoldItalic')
Here is the list of the fonts installed with pibooth:
Amatic-Bold
AmaticSC-Regular
DancingScript-Bold
DancingScript-Regular
Monoid-Bold
Monoid-Regular
Monoid-Retina
Roboto-BoldItalic
Roboto-LightItalic
Use the script pibooth-fonts to list all available system fonts.
GUI translations
The graphical interface texts are available in 9 languages by default: Danish, Dutch, English, French, German, Hungarian, Italian, Norwegian and Spanish. The default translations can be easily edited using the command:
pibooth --translate
A new language can be added by adding a new section ([alpha-2-code]).
If you want to have pibooth in your language feel free to send us the corresponding keywords via a GitHub issue.
Printer
The print button (see Controls) and print states are automatically activated/shown if:
pycups and pycups-notify are installed
at least one printer is configured in CUPS
the key
[PRINTER][printer_name]is equal todefaultor an existing printer name
To avoid paper waste, set the option [PRINTER][max_duplicates] to the maximum
of identical pictures that can be sent to the printer.
Set the option [PRINTER][max_pages] to the number of paper sheets available on the
printer. When this number is reached, the print function will be disabled and an icon
indicates the printer failure. To reset the counter, open then close the settings
graphical interface (see Controls).
Here is the default configuration used for this project in CUPS, it may depend on the printer used:
Options |
Value |
|---|---|
Media Size |
10cm x 15cm |
Color Model |
CMYK |
Media Type |
Glossy Photo Paper |
Resolution |
Automatic |
2-Sided Printing |
Off |
Shrink page … |
Shrink (print the whole page) |